Infrared Temperature Measurement Wristband
In our daily lives, we often acquire the temperature of certain objects. We can measure it using a thermometer or estimate it by touch. However, in many instances, it is not possible to come into contact with the object. In such cases, infrared temperature measurement can be employed to determine the object's temperature. This method has the advantages of being non-contact and providing fast readings. For ease of portability, the author selected a small infrared temperature sensor and fashioned it into an infrared temperature-measuring wristband. With just a gentle press of a button, the device can instantly obtain the surface temperature of an object.
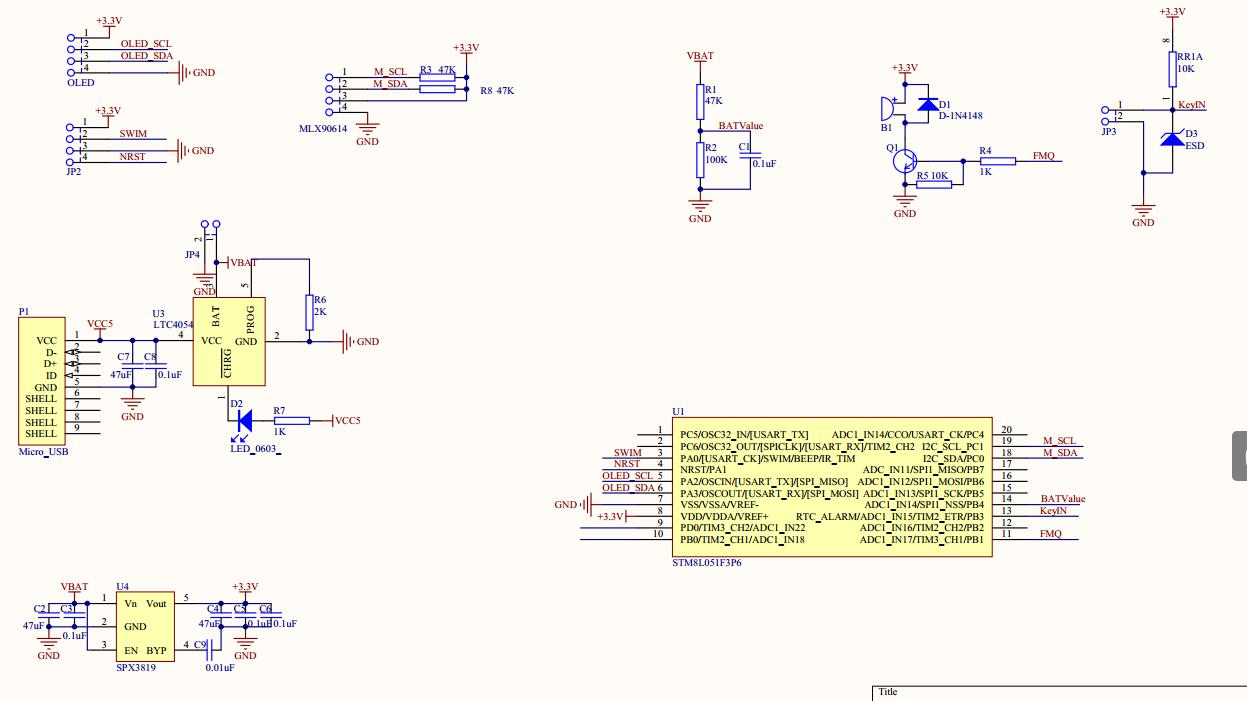
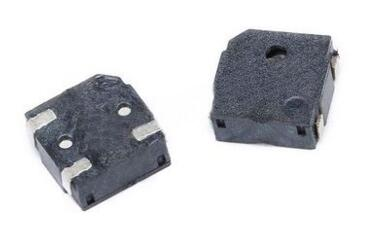
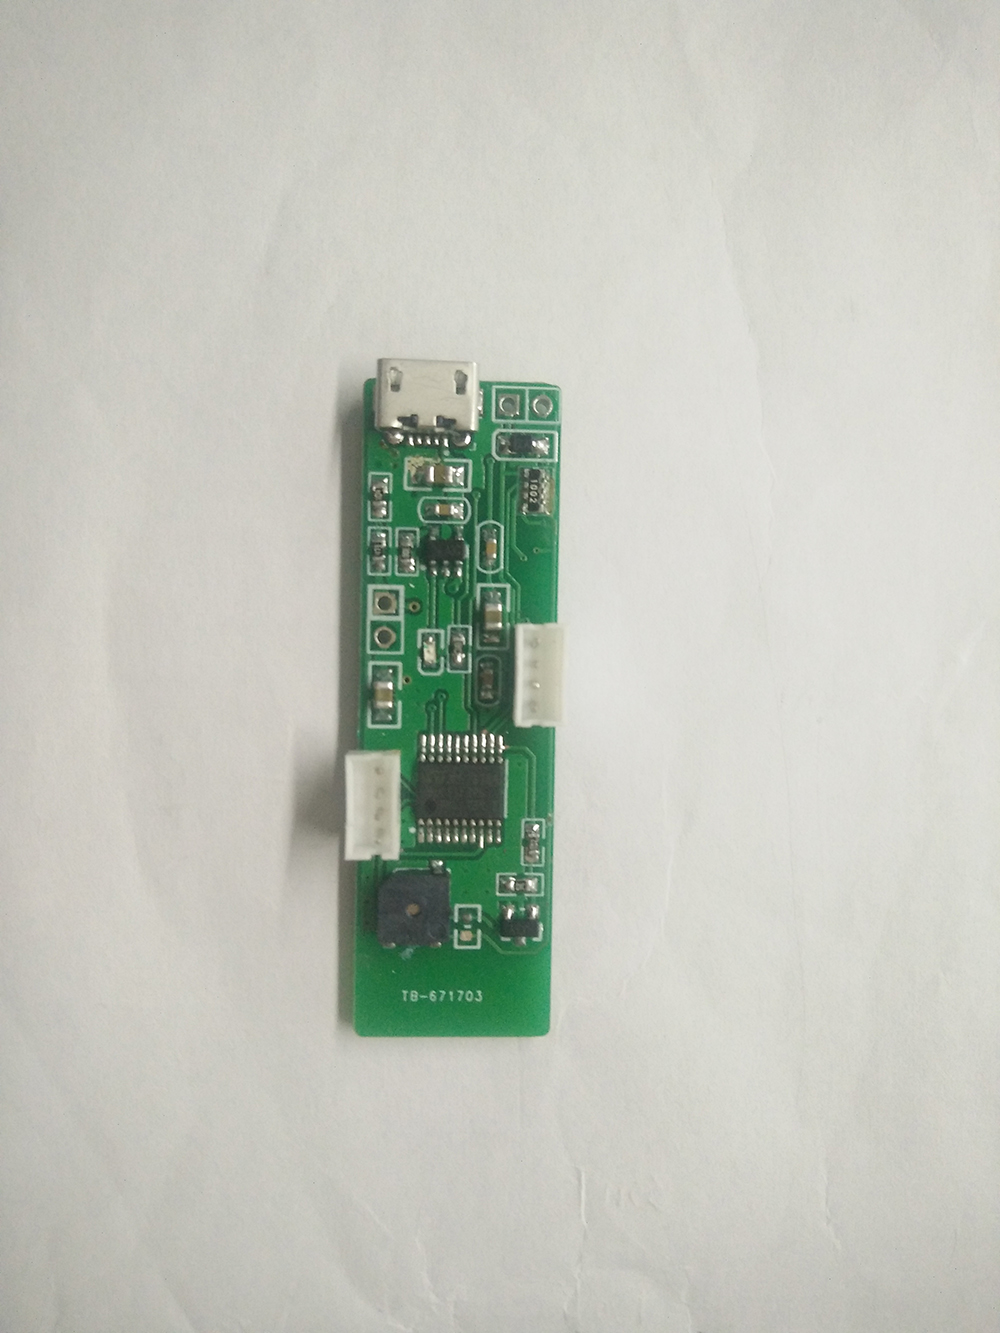
Infrared Temperature Measurement Principle:In the natural world, any object with a temperature above absolute zero continuously emits infrared radiation energy into the surrounding space. The magnitude and wavelength distribution of this infrared radiation are closely related to the object's surface temperature. Therefore, by measuring the infrared energy emitted by an object, one can accurately determine its surface temperature.When using an infrared radiation sensor to measure the temperature of a target, one must first measure the amount of infrared radiation within the sensor's bandwidth emitted by the target. Then, the thermometer calculates the target's temperature based on this measurement. Monochromatic temperature sensors are proportional to the radiation amount within their bandwidth, while bichromatic temperature sensors are proportional to the ratio of the radiation amounts within two specific bandwidths.The infrared temperature-measuring wristband consists of an infrared temperature sensor, an OLED display screen, a microcontroller system, button input, a buzzer, and charging management components. The entire system operates in two modes: low-power standby mode and normal working mode. In the low-power standby mode, the wristband functions in a low-power state. When a button is pressed, it triggers a microcontroller interrupt, waking the microcontroller from its low-power mode and switching it to normal working mode. At this point, the microcontroller retrieves the object's temperature in real-time from the infrared temperature sensor via the SMBus protocol and displays it on the OLED screen along with the real-time battery voltage. After approximately twenty seconds of operation, the OLED display turns off, and the device reverts to low-power mode.As illustrated in the schematic diagram, U1 is an STM8L051F3P6 low-power series 8-bit microcontroller from STMicroelectronics. It features a simple peripheral circuit, five low-power modes, and peripherals such as ADC, SPI, I2C, and USART. B1 is an ultra-thin, ultra-small electromagnetic passive patch buzzer in a 5020 package. U3, the LTC4054, is a lithium battery charging management chip that programs a charging current of 500mA through resistor R6. U4 is a linear LDO (Low Dropout Regulator), which powers the system from the lithium battery.
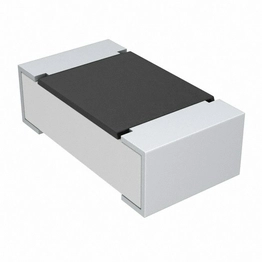
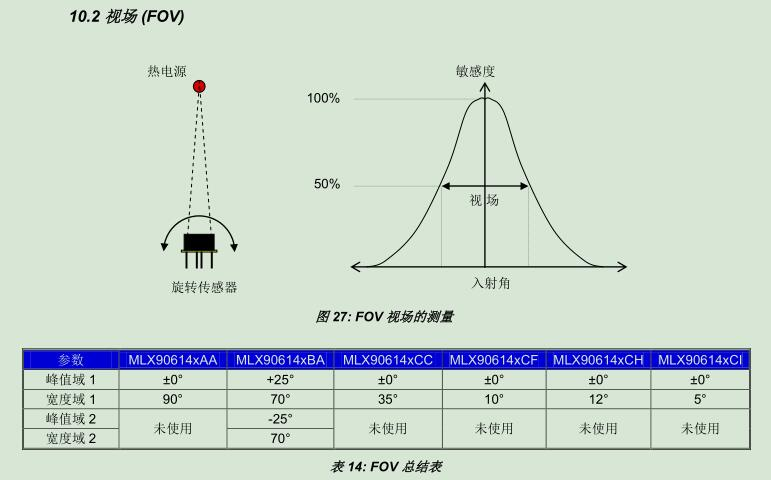
The infrared temperature sensor chosen is the MLX90614ESF-BCC from Melexis. The MLX90614 is a non-contact infrared temperature sensor known for its non-contact capability, compact size, high accuracy, and low cost. It integrates an infrared detecting thermopile chip and a signal processing ASIC, all encapsulated in a TO-39 package. This sensor features a single-zone field of view (FOV) with a width of 35°. It includes a low-noise amplifier, a 17-bit ADC, and a powerful DSP processing unit, providing highly accurate and high-resolution measurements.An optical filter (long-wave pass) is also integrated within the sensor's package, primarily to block visible and near-infrared radiation, thereby enhancing the sensor's resistance to ambient light and sunlight interference. The measurement results are factory-calibrated, and the data interface outputs digital signals via PWM and SMBus. The target temperature range for measurement extends from -70˚C to 380˚C, with a resolution of 0.02˚C under the SMBus protocol. The measured temperature value reflects the average temperature of all objects within the sensor's FOV. At room temperature, the MLX90614 achieves a measurement accuracy of ±0.5˚C.
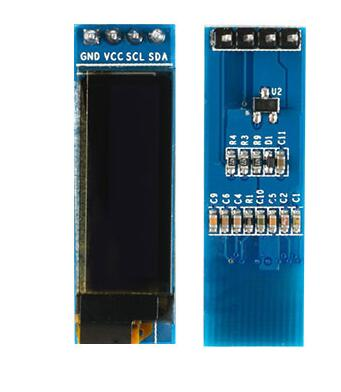
The display screen utilizes a 0.91-inch OLED. OLED, also known as Organic Light Emitting Diode or organic electroluminescence display, boasts several advantages including self-illumination, wide viewing angles, nearly infinite contrast ratio, low power consumption, and extremely high response speed. Small-sized OLEDs are particularly well-suited for information displays in portable and wearable devices.
Steps for Production:1.Solder the circuit PCB.
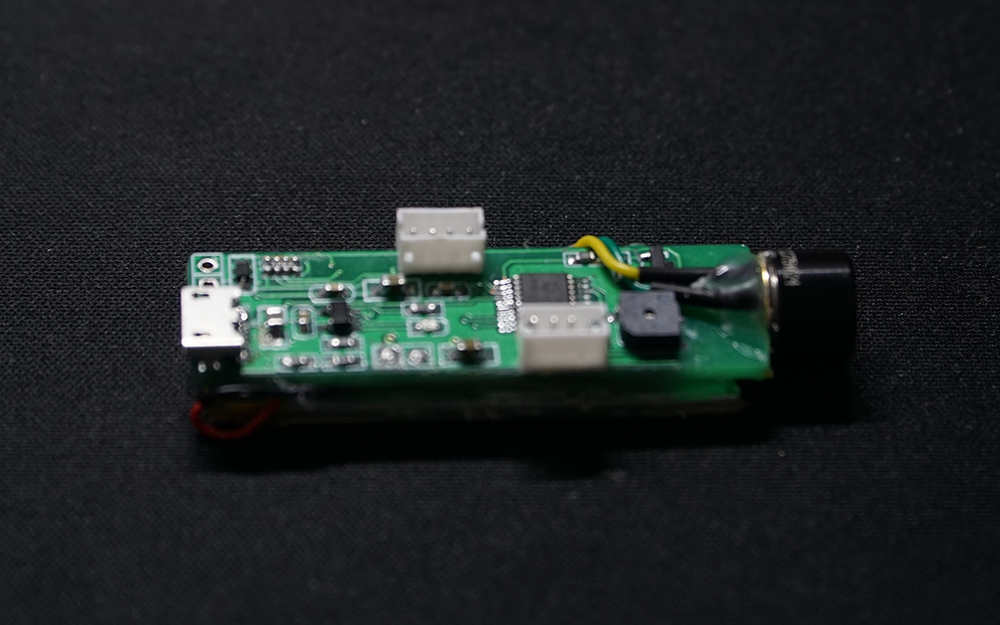
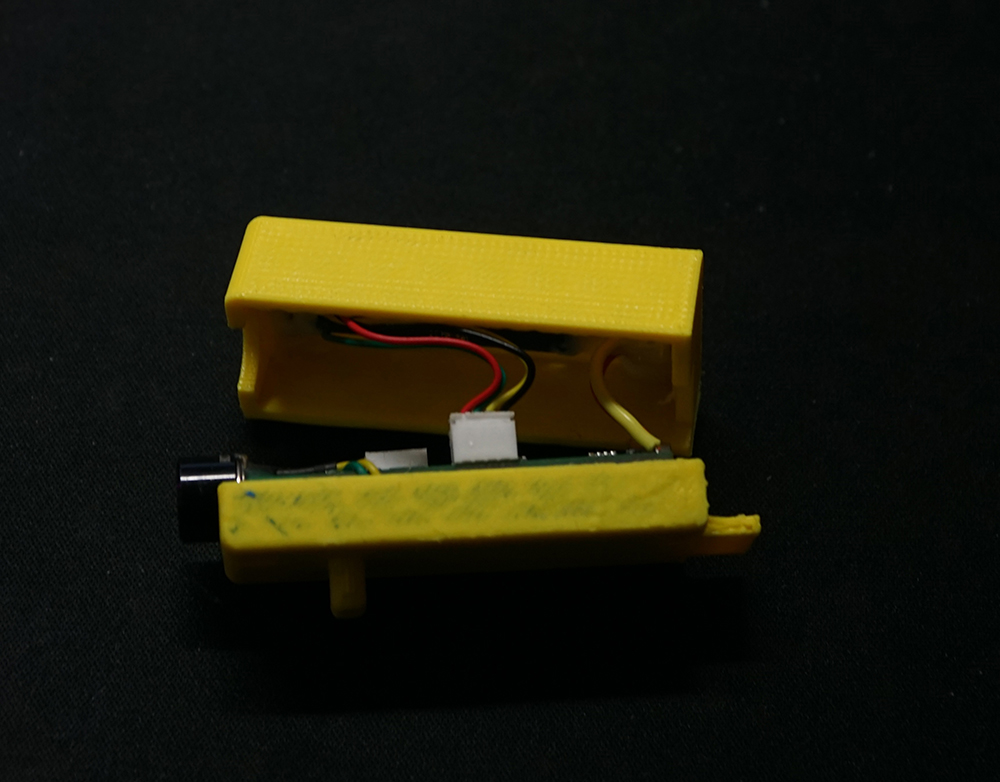
2.Connect the lithium battery and infrared temperature sensor to the circuit board, and secure them with hot melt adhesive.
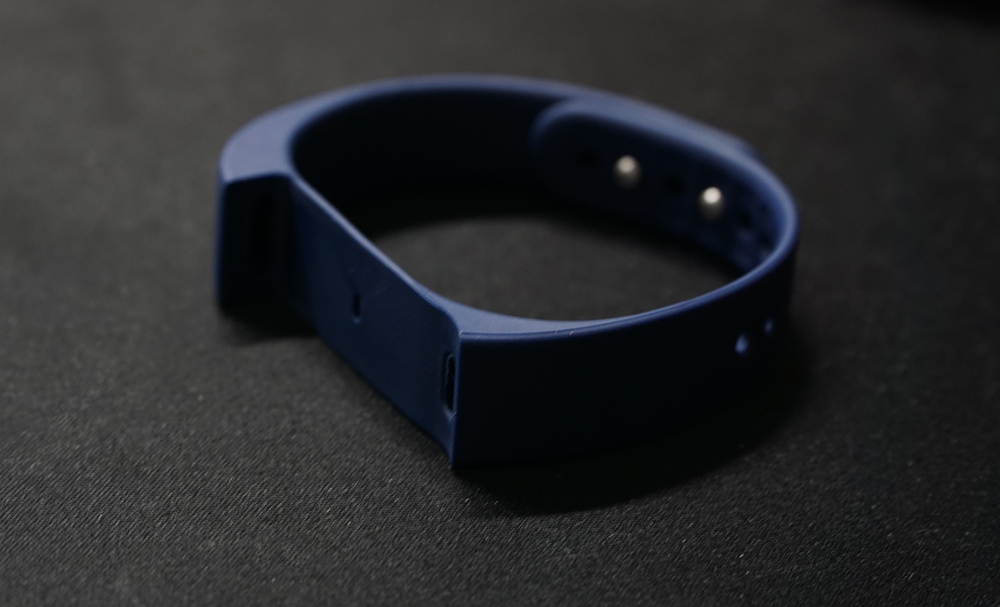
3.Prepare the wristband strap.
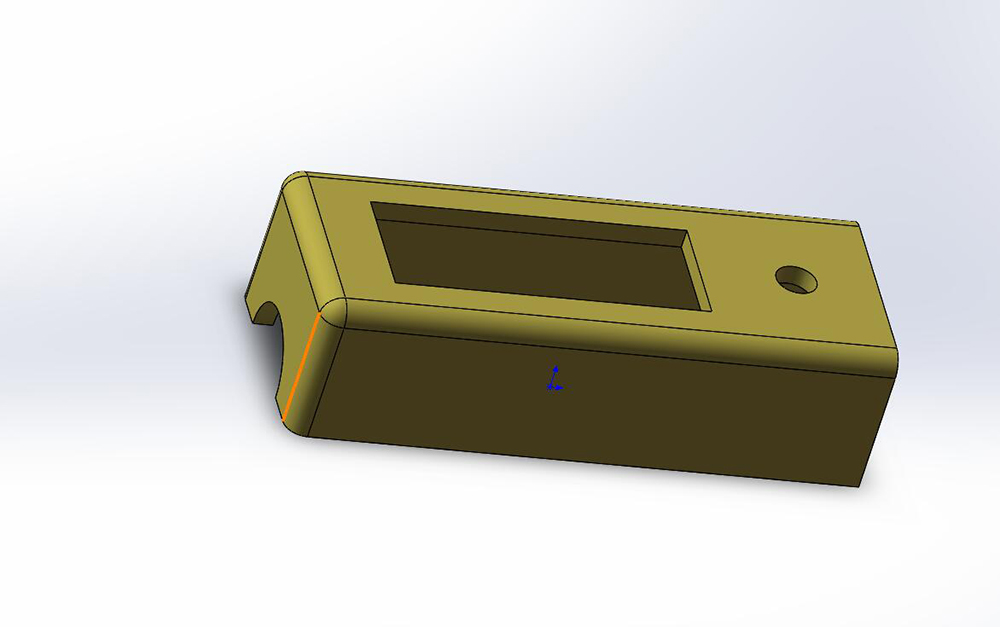
4.Based on the structure of the wristband and the mainboard, display screen, and buttons, design the infrared temperature measurement wristband casing. The casing is divided into an upper and a lower shell. Figure 9 represents the lower shell, while Figure 10 represents the upper shell. When designing the lower shell, consideration should be given to securing it to the wristband. Therefore, a fixing plate and columns are added to the back and bottom of the lower shell, making it easy to attach to the wristband.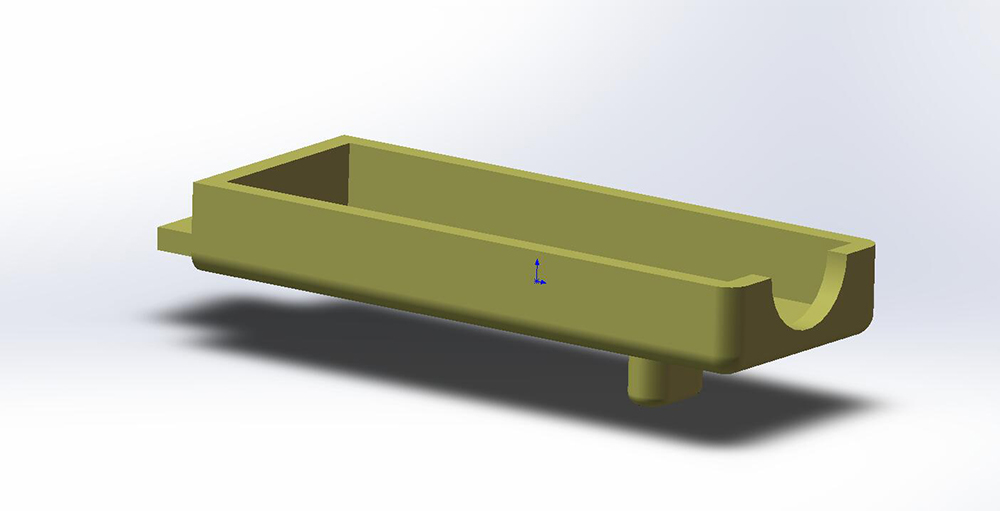
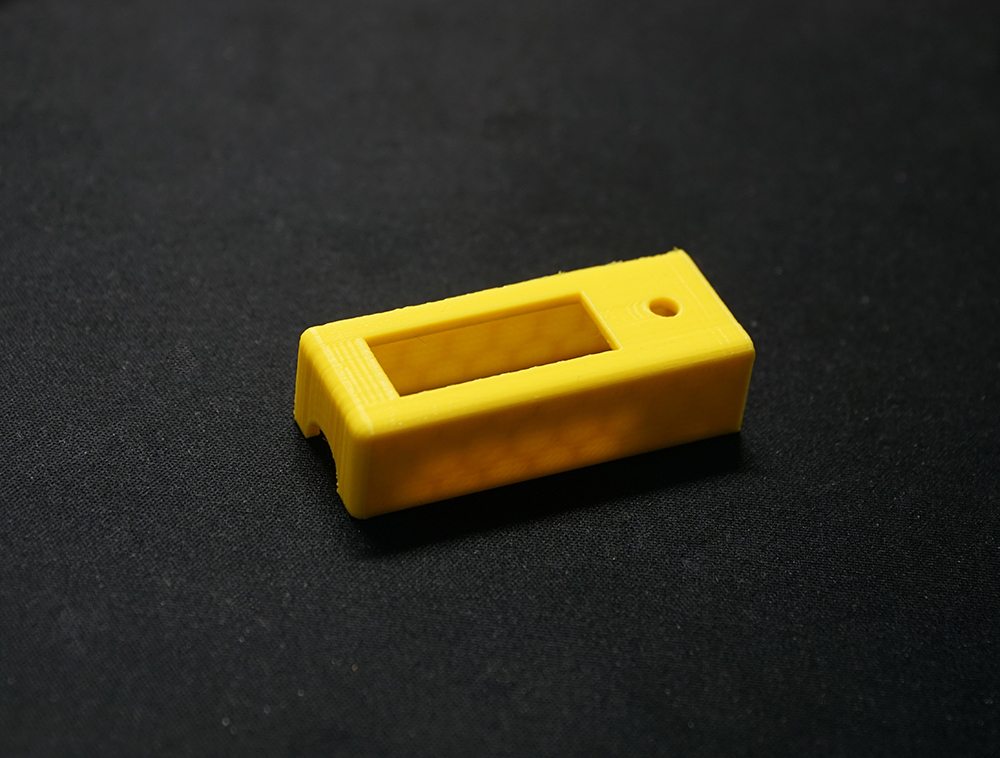
5.Use a 3D printer to fabricate the casing.
6.Solder the OLED connection wires and the button connection wires.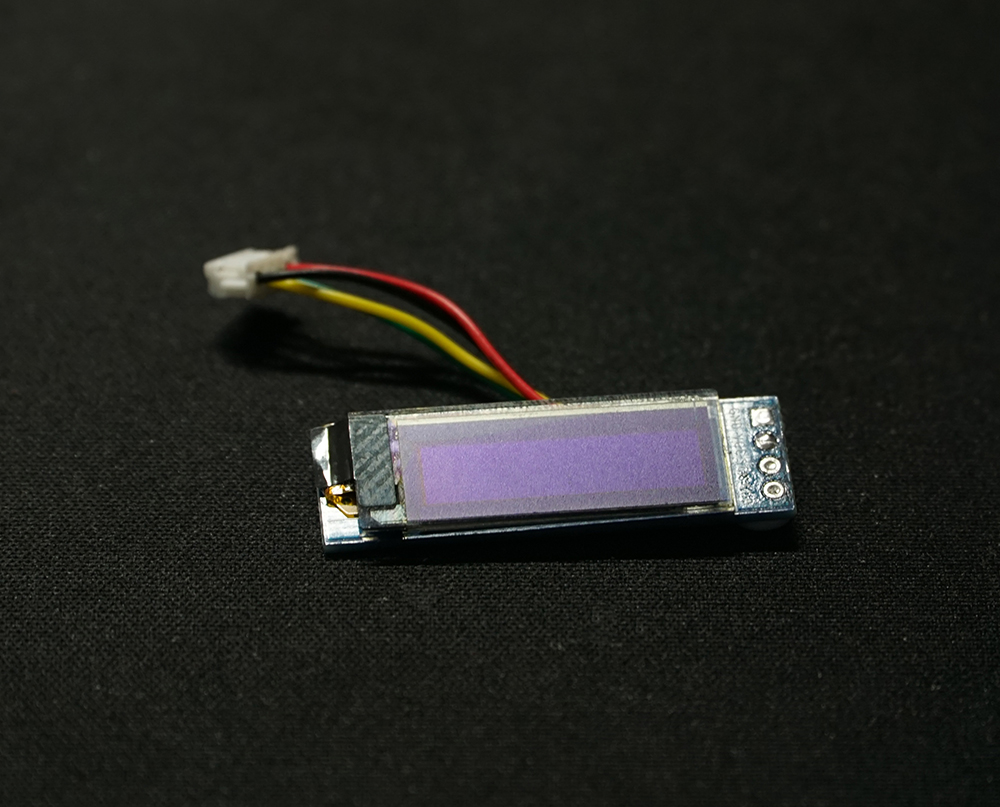
7.Install the OLED and buttons, then secure them using hot glue.
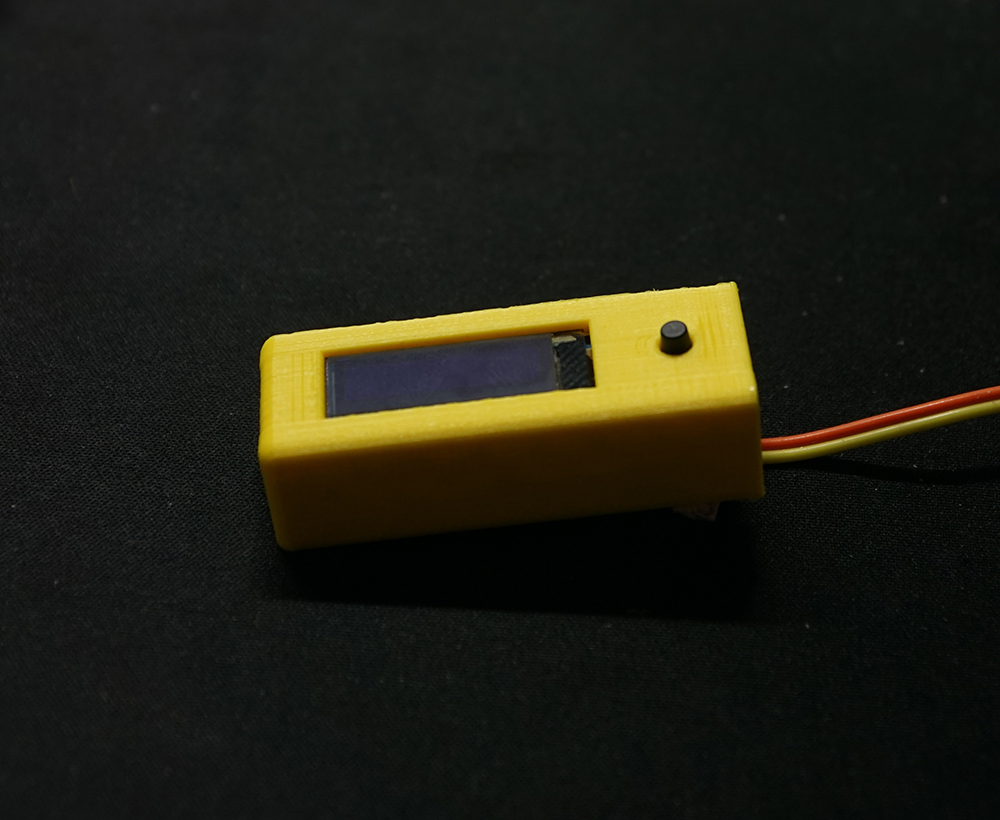
8.Place the motherboard into the bottom case, and then install the top case.
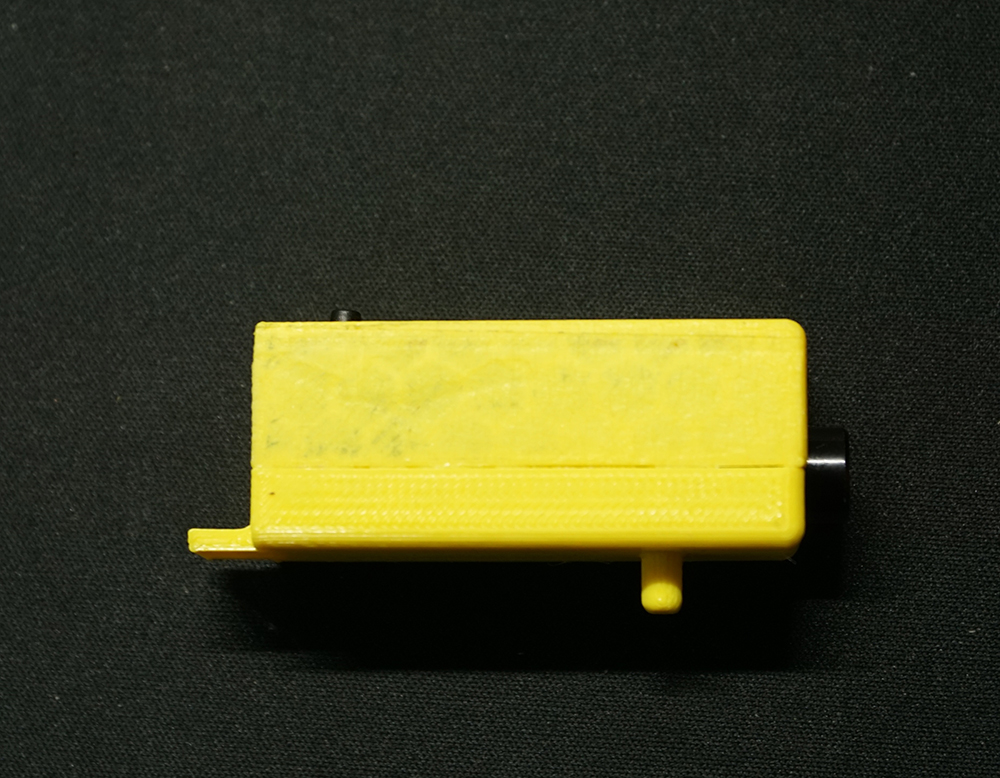
9.Use glue to bond the upper and lower shells.
10.Attach the host casing to the strap.

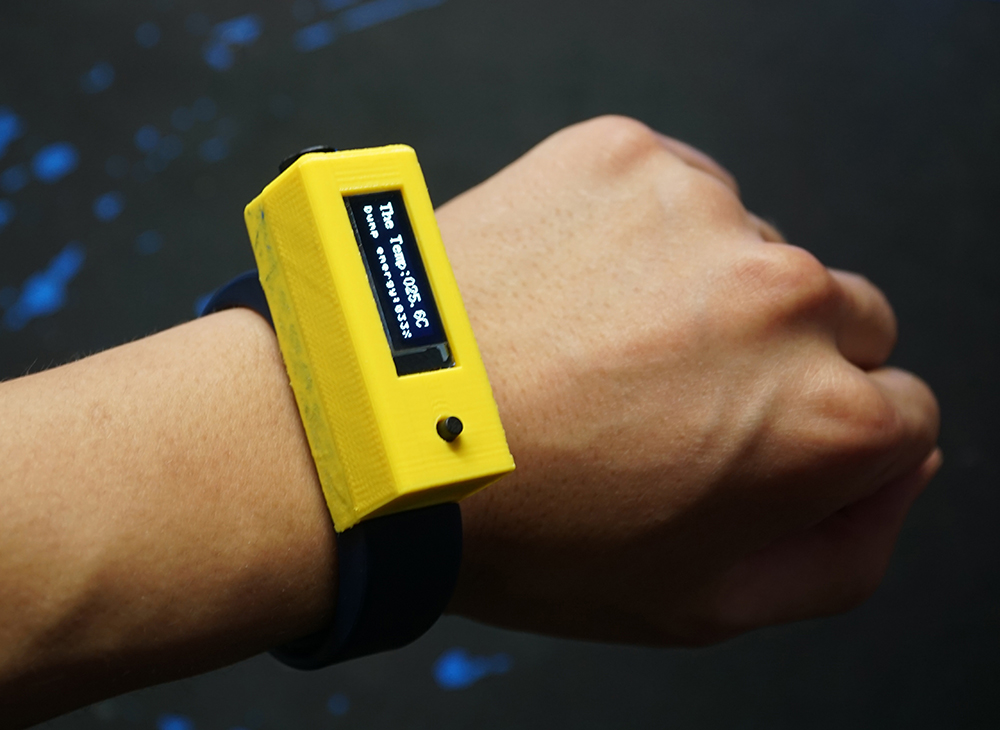
The device, once completed and worn on the wrist, exudes a sleek and futuristic vibe, though its size is relatively bulky. The display interface shows real-time temperature readings of an object's surface as well as the current battery voltage. During charging, an internal red LED light illuminates, with the glow visible through the casing. When the LED turns off, it indicates that the charging process is complete. The device is quite user-friendly, allowing for quick and easy measurement of an object's surface temperature. However, there are many areas for improvement in future iterations, such as selecting smaller lithium batteries, designing a more compact circuit board and casing to reduce overall size, and potentially adding more features.