Arduino Hands-On--- Reed Switch Sensor Module
Experiment: Reed Switch Sensor Module
When I was young, I had a passion for radio. During that time, I came across reed switches and found them fascinating and fun. It felt magical to control the lighting of a lamp using just a small magnet.

In fact, the working principle of a reed switch is not complicated at all.
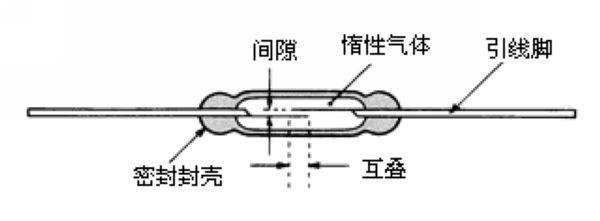

Characteristics of Reed Switches:
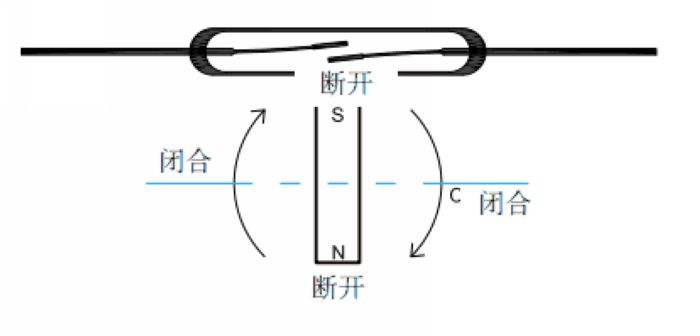
A reed switch, abbreviated as a dry reed switch, is a passive electronic switching component with contacts. It boasts advantages such as simple structure and small size, making it convenient to control. Its casing typically consists of a sealed glass tube containing two ferromagnetic flexible metal reeds and an inert gas known as rhodium. Under normal circumstances, the two reeds inside the glass tube, made of special materials, remain separated. When a magnetic substance approaches the glass tube, the magnetic field lines magnetize and attract the two reeds, causing them to come into contact with each other, thereby closing the circuit connected to the node. Once the external magnetic force disappears, the inherent elasticity of the reeds causes them to separate, breaking the circuit. Therefore, as a device that uses magnetic field signals to control circuits, the reed switch can function as a sensor for counting, limit switches, among other applications (in security systems, it is primarily used to create door and window magnets). Additionally, it is widely employed in various communication devices. In practical applications, a permanent magnet is usually used to control whether the two metal reeds make contact, which is why it is also known as a "magnetically controlled switch."
Uses of Reed Switches:
Reed switches find excellent applications in areas such as programmable logic controllers, copiers, washing machines, refrigerators, cameras, disinfection cabinets, door magnets, window magnets, electromagnetic relays, electronic scales, liquid level meters, gas meters, and water meters, among others.
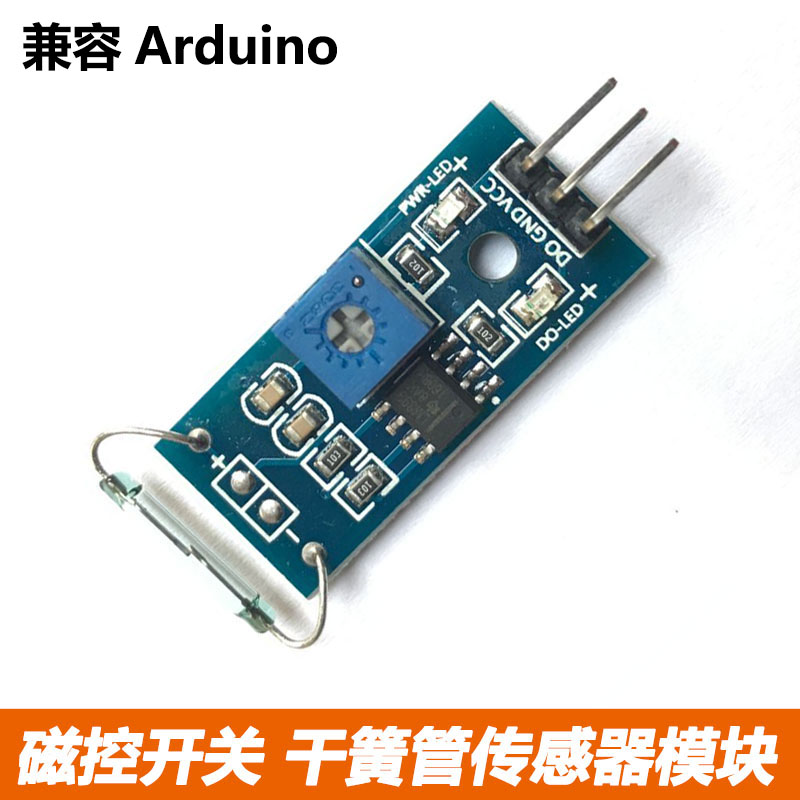
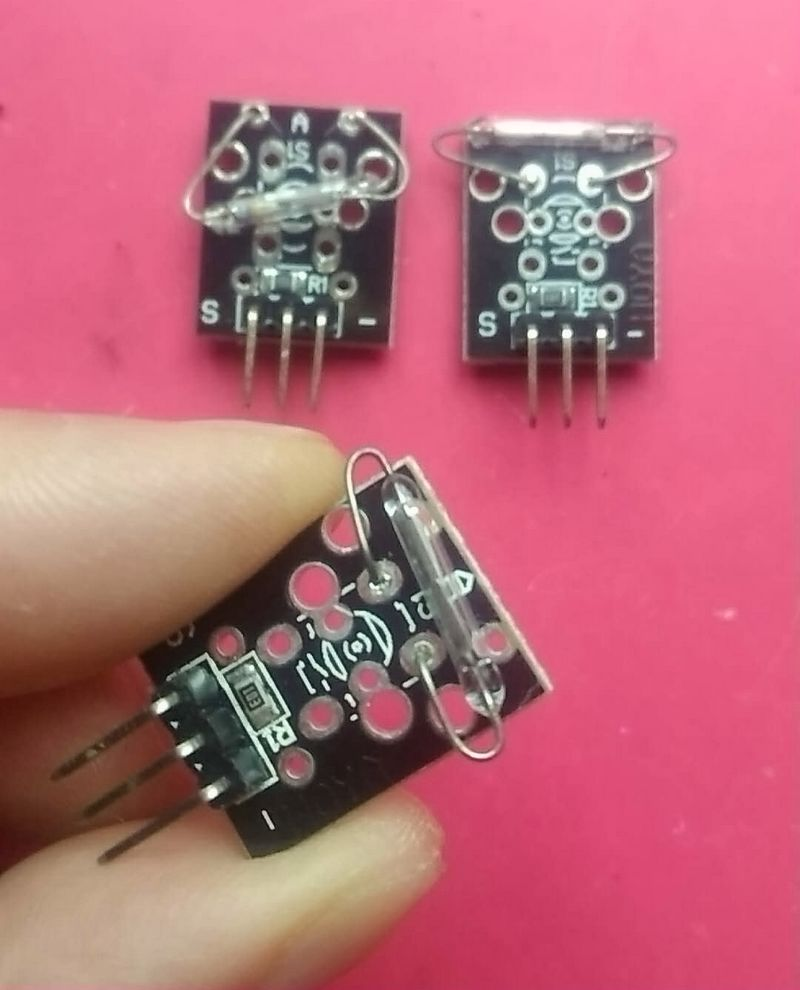
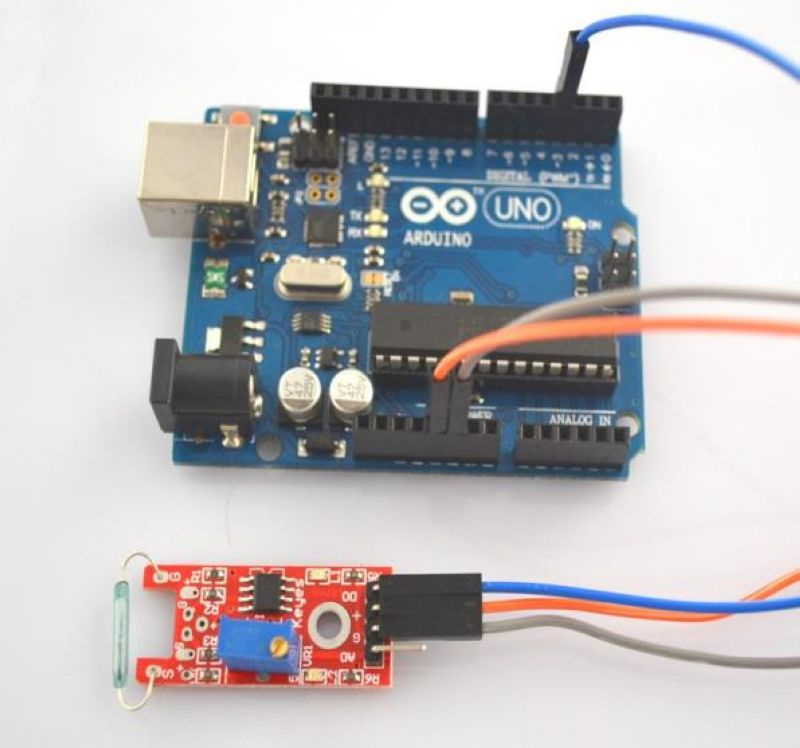
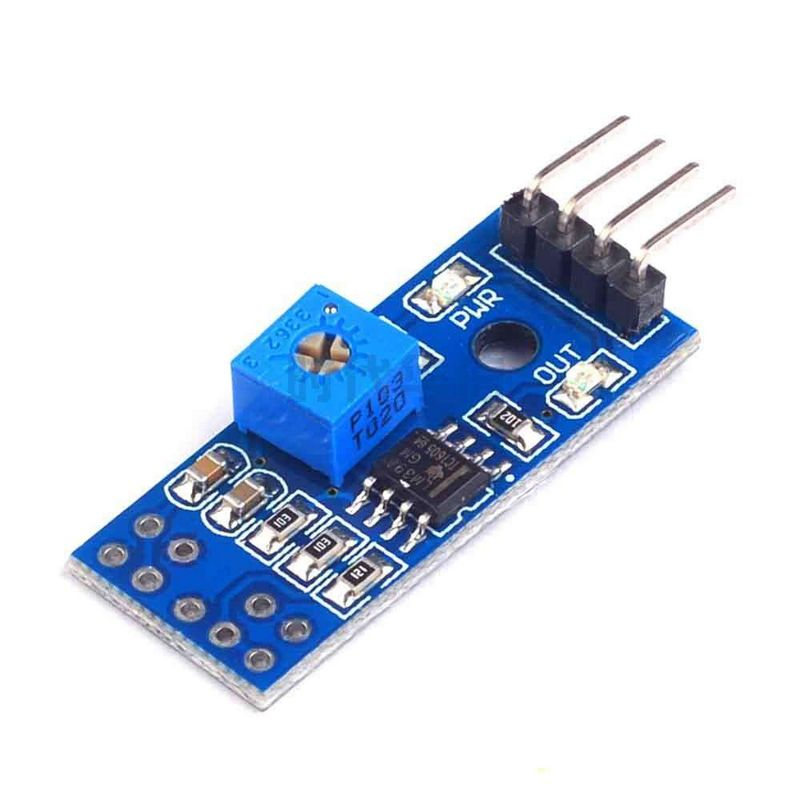
The module suitable for Arduino experiments should be the one featuring the LM393 comparator. Here are its characteristics:
Operating voltage: 3.3V-5V
Utilizes an imported normally open reed switch
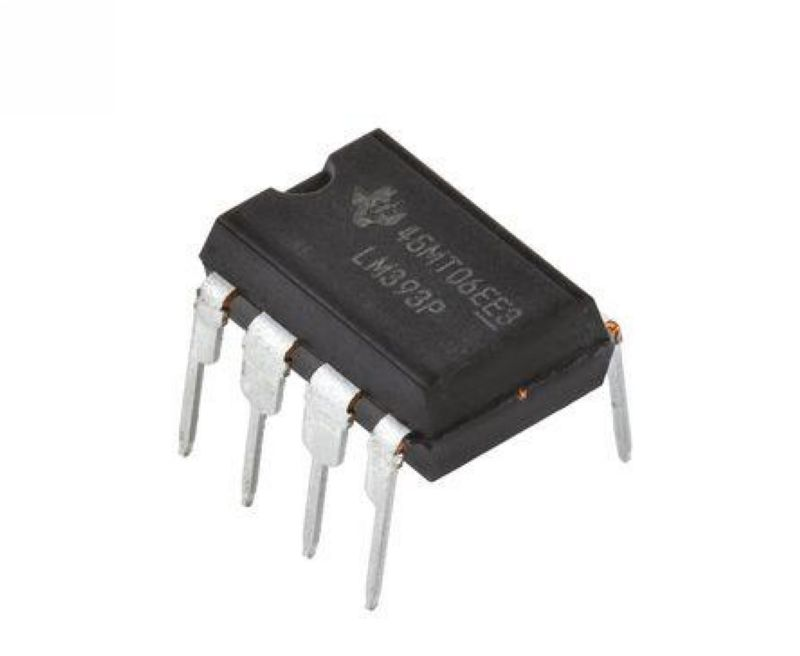
Employs a wide-voltage LM393 comparator
Equipped with fixed bolt holes for easy installation
Small PCB dimensions: 3.2cm x 1.4cm
Output form: Digital switch output (0 and 1)
Comparator output ensures clean signals with good waveform quality and strong driving capability, exceeding 15mA.
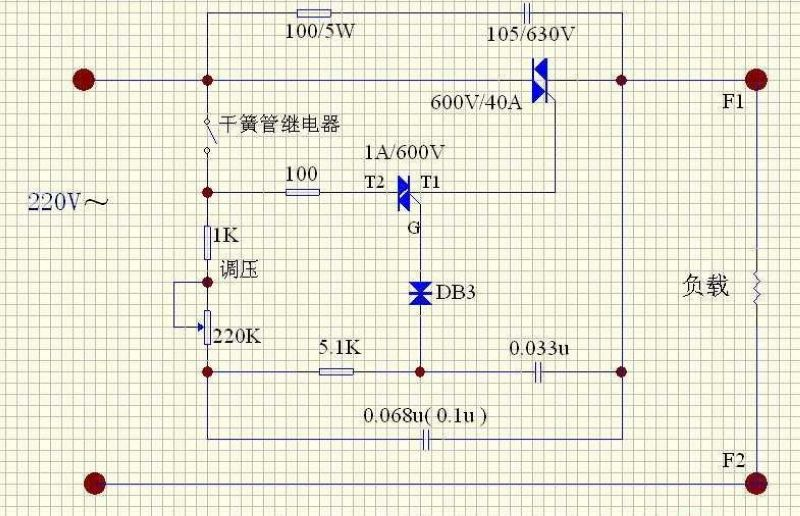
The reed switch sensor is connected to the standard LM393 module, electrical schematic diagram.
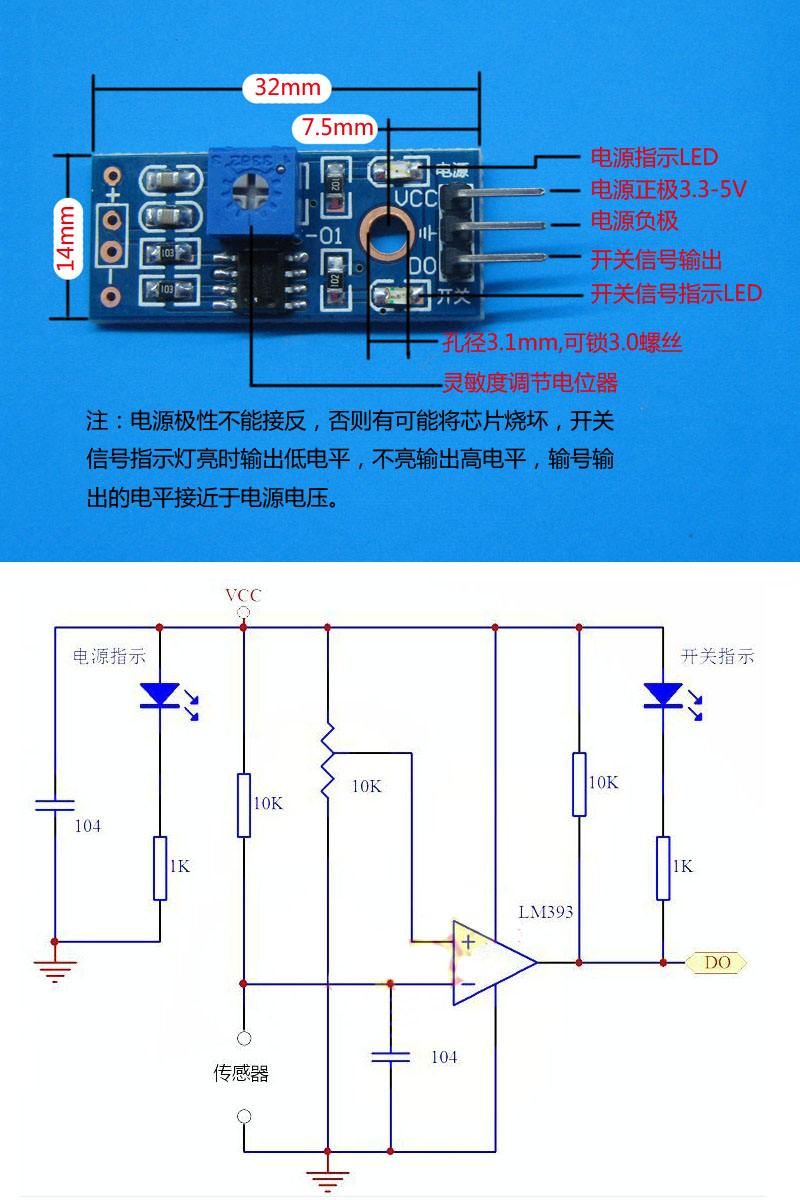
Module Usage Instructions:
The reed switch module needs to be used in conjunction with a magnet. When it senses a certain level of magnetic force, it will become conductive, and the module will output a low signal. In the absence of magnetic force, it remains open, outputting a high signal. The sensing distance between the reed switch and the magnet is within 1.5 cm; beyond this range, it may not respond or detect reliably.
The DO output end of the module can be directly connected to the digital port of an Arduino UNO to monitor the triggering state of the reed switch.
When the DO output end of the module is connected to the IN input end of a relay or a thyristor, it can form a high-power reed switch, capable of directly controlling high-voltage, high-current devices.
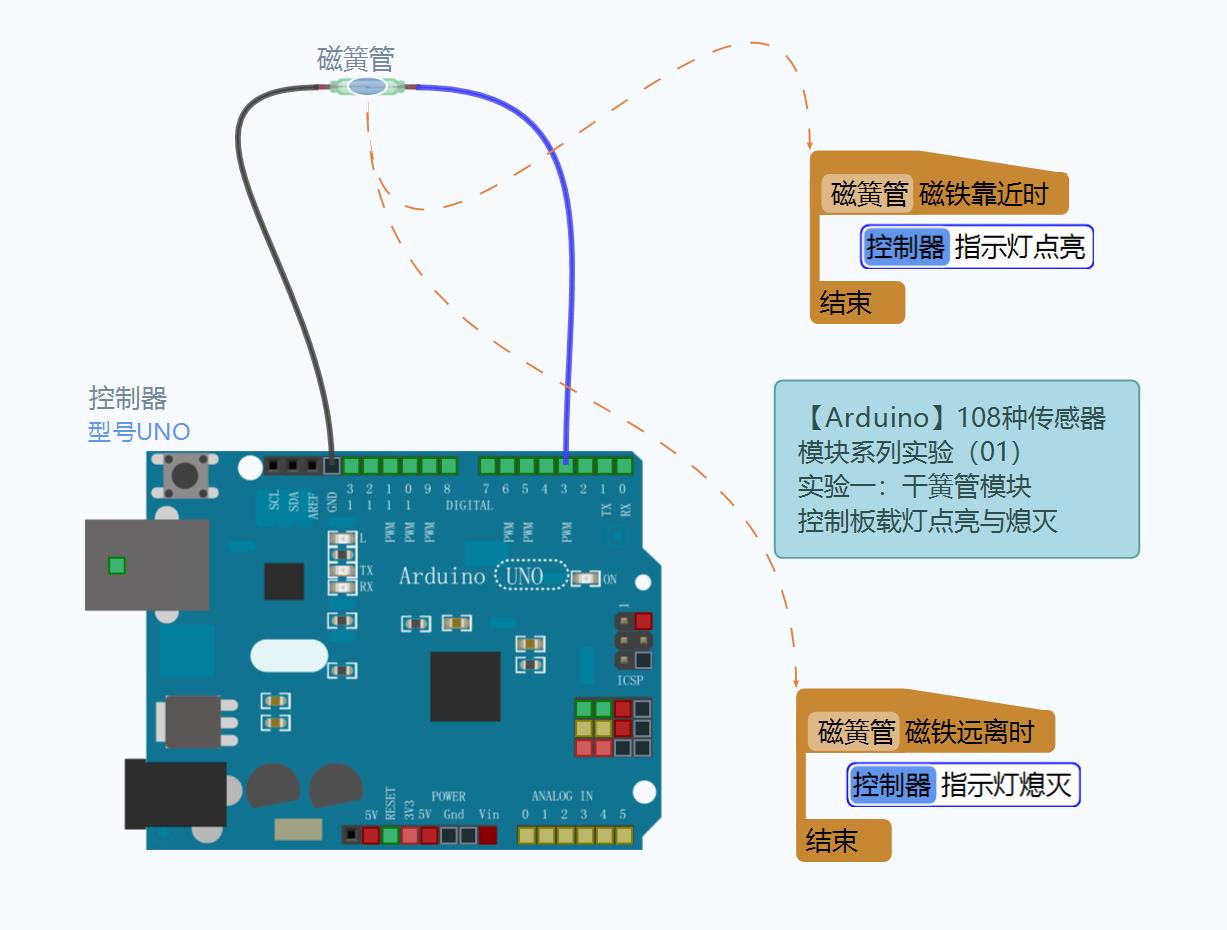
I attempted to create a wiring diagram for an Arduino experiment using simulation software.
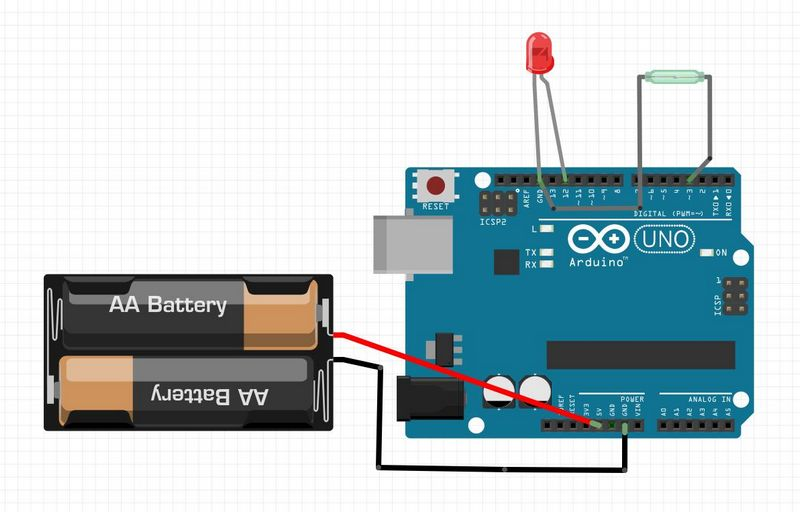
Diagram of the experiment
Experiment Description:
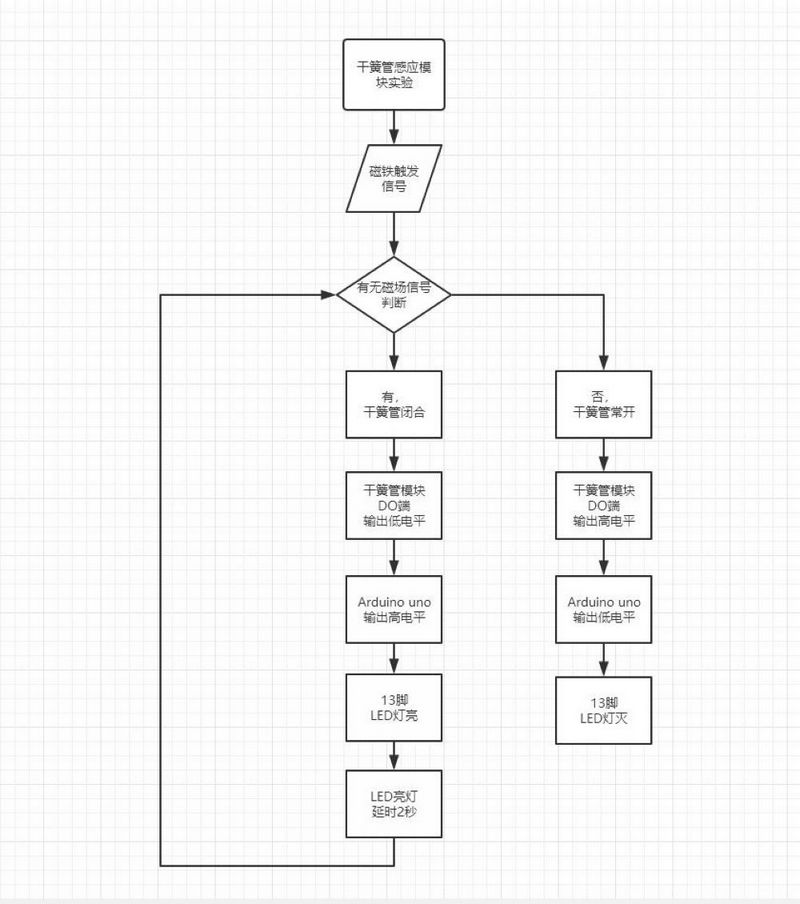
Construct a simple circuit using the reed switch module and the LED connected to the digital pin 13 to create a magnetic field indicator light. By utilizing the LED on the digital pin 13, connect the reed switch sensor module to the digital pin 3 as a magnetic field sensor. When a magnetic field signal is detected, the LED will turn on, otherwise, it will remain off.

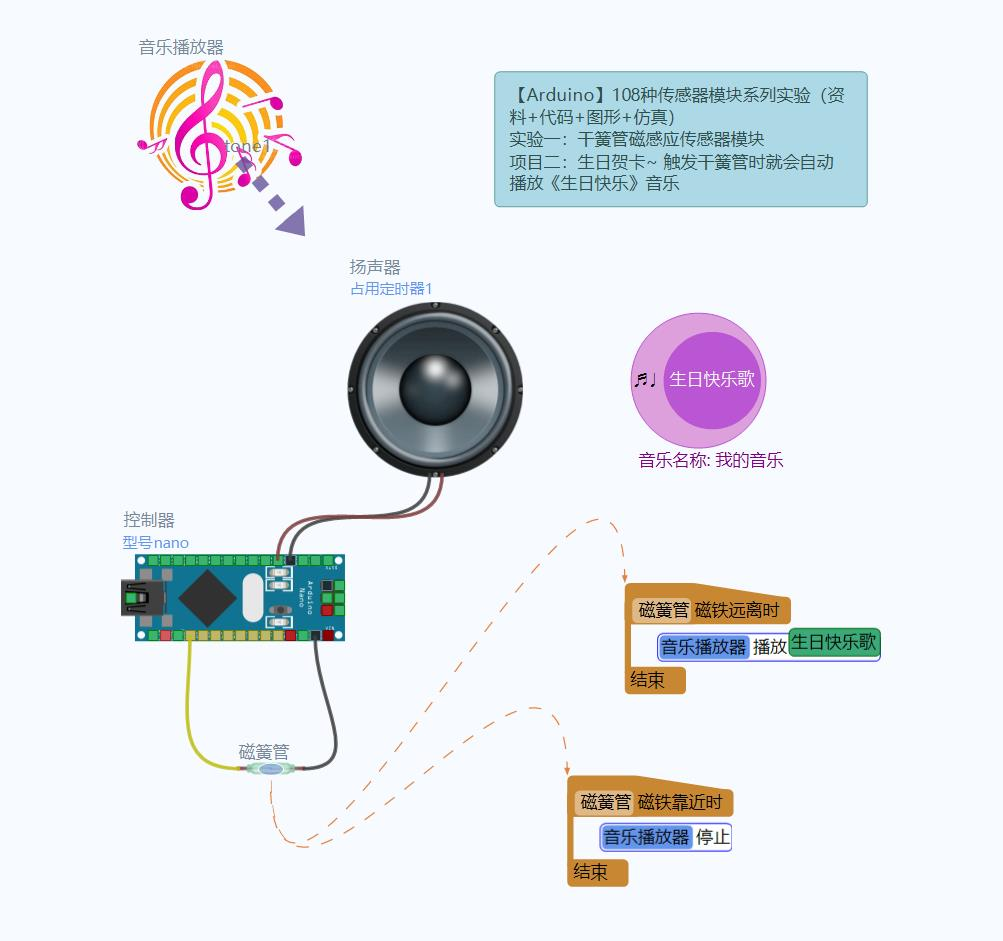
Experimental logic diagram attempt
Attempt to visualize simulation programming; it's relatively intuitive.